Home / Insulation in Open Exterior Walls
Insulation in Open Exterior Walls
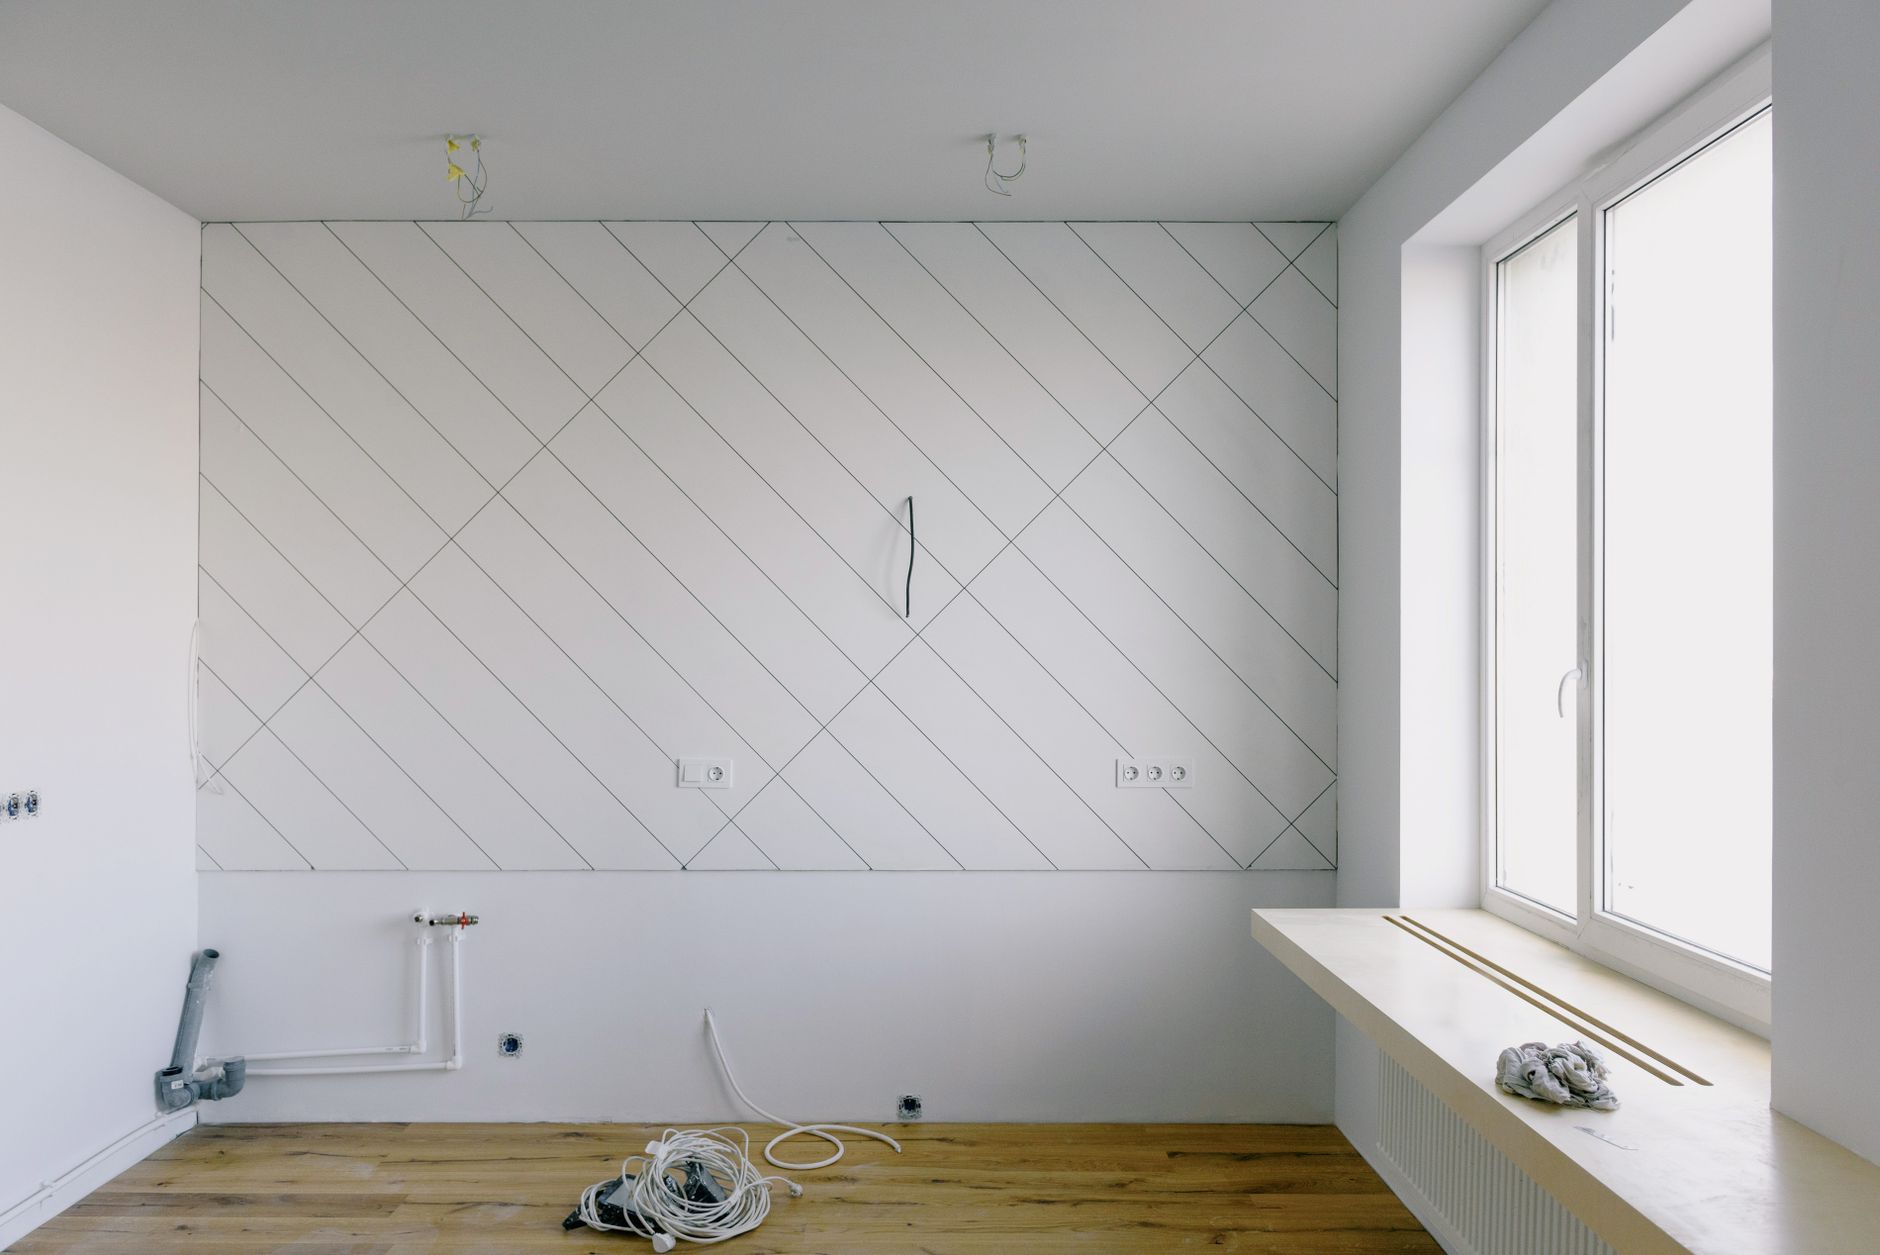
The moment a kitchen wall is stripped to its studs is the only time insulation can be added cheaply and thoroughly. Behind finished drywall, an exterior wall is a closed cavity, and improving it means cutting holes or blowing material through drilled openings, with uneven results. With the wall open, a homeowner can see what is actually there, fix what is missing and choose the material that suits the framing. Many older houses turn out to hold surprises.
Look before buying anything
Open exterior walls in an older home often reveal one of three situations. The cavity may be empty, which was common in houses built before insulation was standard practice. It may hold old material, such as loose fill that has settled to the bottom of the cavity, leaving the top bare. Or it may contain batts that were stuffed in unevenly, with gaps at the edges, around wires and behind electrical boxes. Each case calls for a slightly different response.
It is worth photographing the open wall before anything is covered, noting stud depth, any signs of past moisture such as staining or rot, and where wires and pipes run. Stud depth determines how much insulation can fit. A traditional wall framed with two-by-four lumber has a cavity just under four inches deep, while a two-by-six wall has a deeper cavity and can hold a thicker, more effective layer.
Understanding R-value in plain terms
Insulation is rated by R-value, a measure of resistance to heat flow. A higher number means better resistance. Each material has a value per inch of thickness, so the total depends on both the material and how much room there is. A cavity filled with a material of high resistance per inch will outperform a thicker cavity filled with something weaker.
The most important point is that R-value only counts when the insulation is installed well. A batt that is compressed, folded or full of gaps delivers less than its label promises. Air moving through or around the material also reduces performance, which is why insulation and air sealing are best handled together, as the neighboring topic of sealing gaps explains.
Common insulation types for stud cavities
- Fiberglass batts. Pre-cut blankets sized to standard stud spacing. They are inexpensive and familiar, and work well in clean, regular cavities when cut carefully to fit around wires and boxes. Poor installation is their weak point.
- Mineral wool batts. Denser than fiberglass, they hold their shape in the cavity, resist fire and shed water well, and they also dampen sound. They fit snugly and tend to leave fewer gaps.
- Blown cellulose or fiberglass. Loose material sprayed or blown into the cavity, usually behind a netting or through a fill tube. It conforms to odd shapes and fills around obstructions, which makes it a good match for irregular framing.
- Spray foam, open cell. Expands to fill the cavity and seals air leaks at the same time. It is lighter and more flexible than closed cell.
- Spray foam, closed cell. Higher resistance per inch, plus it acts as an air and moisture barrier. It is the most expensive of the group and is often reserved for tight cavities where space is limited.
- Rigid foam boards. Cut to fit between studs or applied across them. They give high resistance in thin layers and can interrupt heat flow through the framing itself.
Thermal bridging through the studs
Wood is a better conductor of heat than insulation, so the studs themselves form pathways for heat to travel through a wall. In a wall that is mostly framing, such as around windows and corners, this can noticeably reduce overall performance. One response is a layer of continuous insulation across the face of the studs, either on the exterior during a siding project or on the interior under the drywall. A thin layer of rigid foam on the interior face, covered by drywall, reduces the bridging effect, although it also reduces the room's size slightly and requires extending window and door trim.
In a kitchen remodel, where only an interior wall face is typically opened, adding continuous insulation is less common but worth discussing when cabinets are being replaced and the wall will be rebuilt anyway.
Moisture and vapor control
Insulating changes how a wall handles moisture, so the question of vapor control should be answered at the same time. Warm, humid indoor air can migrate into a wall cavity and condense where it meets a cold surface. In cold climates, a vapor retarder on the warm side of the wall manages this. In hot, dry regions, the concern is smaller, and some assemblies are better left able to dry in both directions. Local building rules and the wall's construction, including the type of exterior sheathing, determine what is appropriate, so a conversation with the building department or an experienced contractor is worthwhile.
Whatever the climate, any sign of past leaks in an open wall must be fixed before insulation goes in. Insulating over a damp or rotted stud hides the problem and traps moisture where it will do the most harm. A kitchen wall behind a sink or near a window is especially likely to have seen leaks, so inspect those areas closely.
Working around wires, pipes and boxes
Most poor insulation jobs fail at the obstacles. A batt pressed flat behind a wire loses its loft, and a batt jammed into a box cutout leaves a void. Good practice is to split the batt so that one layer sits behind the wire and one in front, and to cut notches rather than compressing material. Insulating behind electrical boxes, often skipped, matters in an exterior wall because the box is a thin spot in the wall's defense.
Pipes in exterior walls need particular care. Plumbing lines should sit on the warm side of the insulation, toward the interior, so that they are protected from cold. Where a supply line must run in an exterior wall, a homeowner in a freezing climate should not bury it behind a thick layer of insulation with nothing on the room side, since the pipe would then be exposed to the cold.
Fire and safety considerations
Some insulation materials must be kept clear of certain items. Recessed lights rated for contact with insulation can be covered, while those not rated need clearance. Flues and chimneys require air space around them by code. Where a kitchen wall includes a vent pipe or a gas appliance vent, the manufacturer's clearances must be respected, and the inspector will check them.
Sound is a bonus. A kitchen wall that borders a bedroom or living space benefits from insulation that also muffles noise, and dense batts do this better than thin ones.
Inspection and sequence
- Photograph and assess the open wall, noting depth, condition and any moisture.
- Repair any damage, and complete wiring and plumbing before insulating.
- Seal air leaks, then choose a material that suits the cavity depth and shape.
- Install snugly, with no gaps, compression or voids, working around every obstruction.
- Arrange for the building inspector to see the insulation before drywall covers it, where required.
- Close the wall only after the inspection is passed.
The open wall is a narrow window of opportunity. A homeowner who treats it as a chance to inspect, repair and insulate properly will gain a kitchen that holds temperature better, costs less to cool and avoids the hidden problems that closed walls conceal for decades. It is among the most valuable things a remodel can do that nobody sees afterward.